After stumbling across this
on Pinterest, I knew I wanted to make something similar for a friends' bridal shower. It was elegant and artistic, yet didn't require anything above my point-and-shoot photography skills. Furthermore, I could customize it by taking the letter photos in places that held some significance to the recipients; in this case, around the university campus.
First off, I had to decide two things:
- name or inspirational word?
- photos of things that resemble letters or photos of letters themselves?
I decided to do names rather than words, to make the gift more personalized...the downside being that I had to hunt all over town (I literally went to eleven places) to find a frame with the correct number of photo spaces
 |
| found one at Army and Navy, thankfully :) |
...which I ended up returning because I wasn't happy with the wide strip of white between each photo or the fact that the cut-outs in the mat were actually slightly smaller than 4'' x 6''.
This would have been my dream frame, but I figured that my trial run of this project didn't warrant a custom frame and mat investment.
Not to worry, I decided to take the photos first and sort out the framing details later. So I set out with my point-and-shoot camera to seek out things that resembled letters. Perhaps a simpler approach would have been to take photos of actual letters, in interesting typography on signs and buildings -- something like this:
If that's the route you want to go, you don't even have to leave the house, thanks to Leo Reynold's incredible letter collection on flickr which he generously offers up free for download.
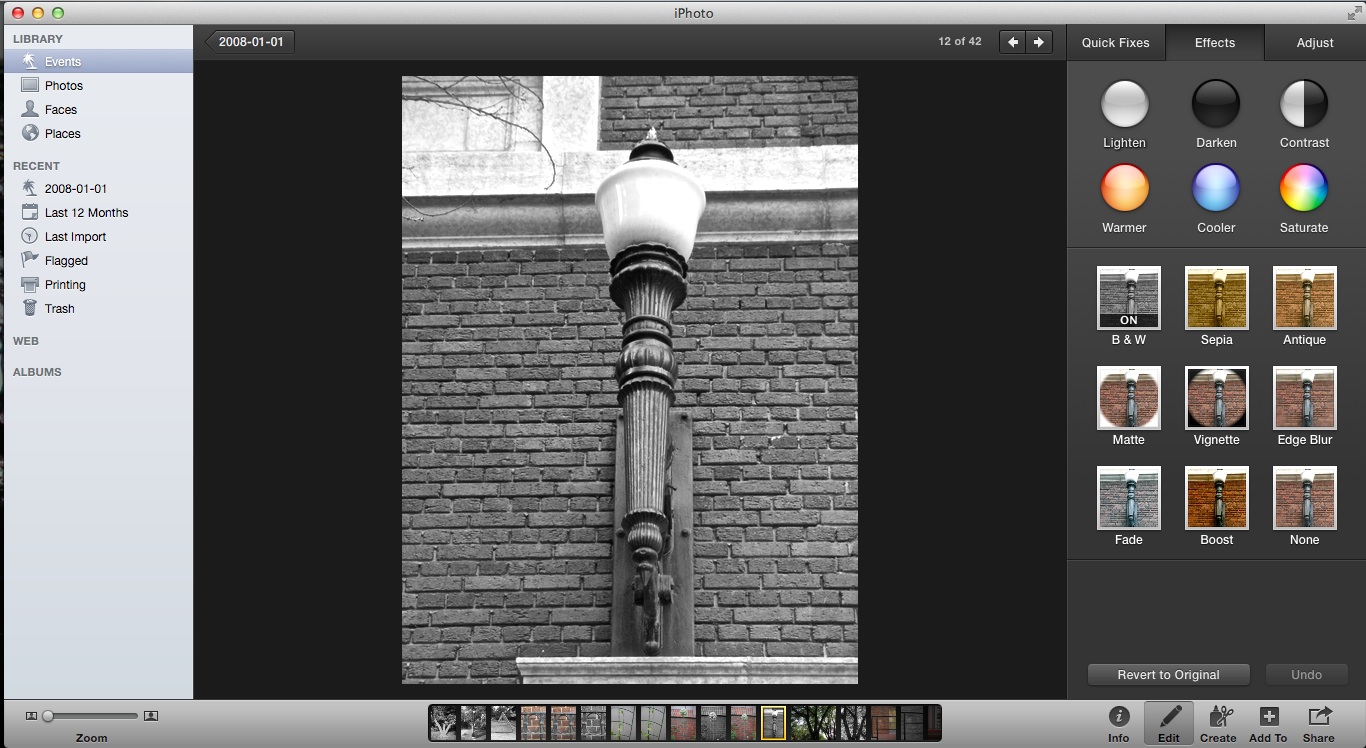
I figured it would make for more interesting photos to find non-letters that resemble letters, so I wandered around for a couple of hours taking photos like this:
Be prepared to get a few odd looks while you're stopped and staring at an empty bike rack, trying to figure out what letter it resembles, and then proceeding to photograph it. I also had to explain to someone why I was standing at their front porch, taking a photo of their railing with my cellphone (couldn't pass up an ornate "S"...which I didn't even end up using).
I took as many photos as I could, so that I'd have some choice when it came to which to use. Then I imported them all into iPhoto, made each black and white, straightened if necessary, and adjusted brightness, contrast, sharpness, etc. until I was satisfied. I tried to crop the photos so that each letter filled approximately the same proportion of the photograph, so that when placed side-by-side the "font size" would match.
I made a rough draft of the words by exporting the photos from iPhoto with these settings**
and then dragging them into a Word document. In Word I scaled each down in size by 50%:
I did the same with the other photos and spaced them out on the page the way I wanted. This isn't actually what they looked like -- I spelled the bride and groom's surnames (the bride kept her maiden name), each conveniently five letters, but in the interest of anonymous blogging I've scrambled the letters into two non-words:
So by this point the bridal shower had passed and I'd brought a more conventional gift. But the wedding was approaching and I decided I'd repurpose my letter surnames into a card. To do so, I had to get the photos into 4'' x 6'' format, but didn't want to take a screenshot and compromise their quality. Here's what I did instead:
I exported the page of the Word document as a PDF:
Then with the PDF open in Preview (I have a Mac), I used File>Export As to convert the format to JPEG:
By doing it this roundabout way you retain the photo quality (as you can see when you zoom in). The final step was resizing the photo to have 4'' x 6'' proportions. Fortunately this is really easy to do on Preview, as when you drag a rectangular selection across the photo, it tells you the number of pixels. As you can see in the photo below, the height of my photo was 1275 pixels, so I calculated that to achieve a 4:6 ratio I needed a width of 1912 pixels.
I cropped the photo to this size (command + K), saved it onto a USB stick, and went into London Drugs to have it developed (I selected matte over glossy; just personal preference).
30 minutes and $0.39 later I had my photo in hand and was a little scared to open the envelope. Fortunately the print turned out just as I'd hoped it would (such a relief!). The final step was to affix the photo to the front of a blank greeting card (the ones below I found at Dollar Tree, in 6-packs for $1.25).
And that was it. Sorry, no photo of the finished product because I don't want to disclose the couple's surnames, but in my biased opinion it turned out really well! Maybe some day I'll get around to actually making one in a frame.
[**Just a note that if you plan to print the photo larger than 4'' x 6'', make sure you export the photos in "large" from iPhoto, to avoid pixellation.]


Wow!!! This is a super awesome gift idea! Great pics! I bet the person who got it really liked it! hehe
ReplyDeleteThanks for a great tutorial :)